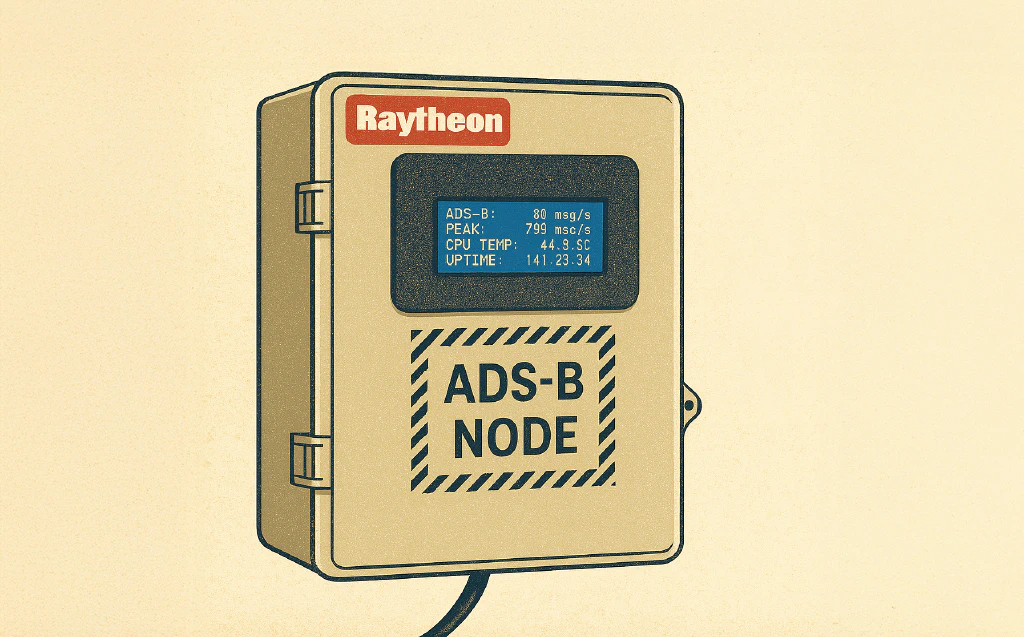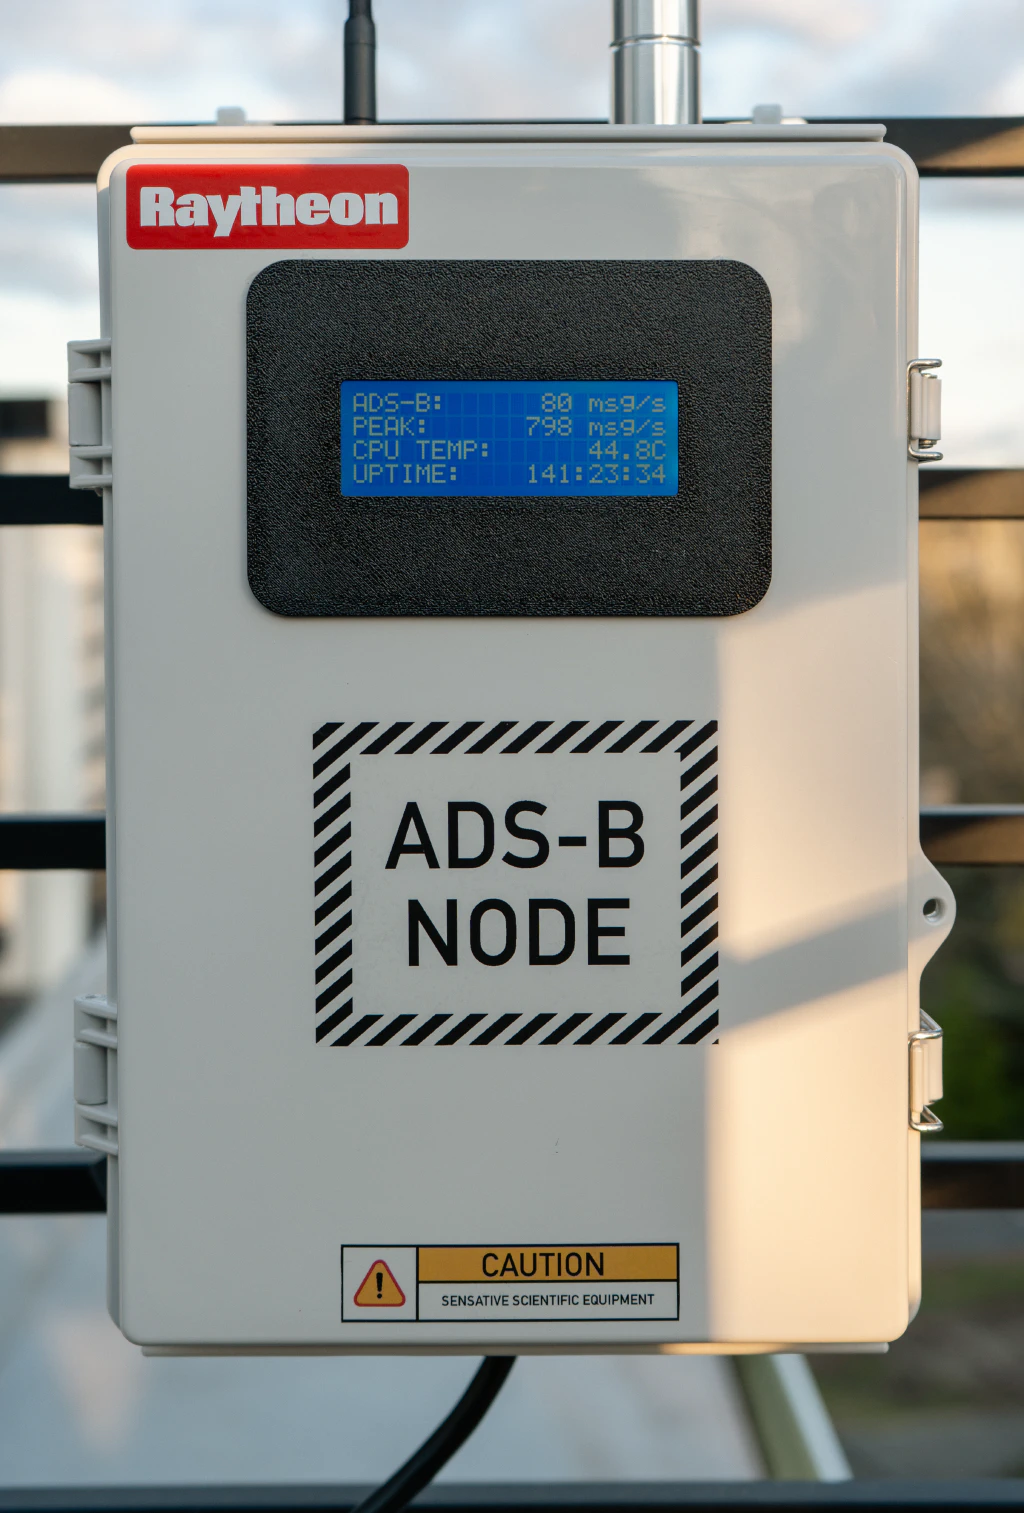
After setting up my PiAware receiver to track live flight data, I wanted a simple way to glance at some key stats without SSH-ing into the Pi or opening a browser. Enter the humble 20x4 I2C LCD screen.
This post walks through how I wired up a character LCD to my Raspberry Pi, wrote some Python to pull flight data from PiAware, and got a tiny dashboard updating every second—all without needing to touch a GUI.
What I Used 🔗
- Raspberry Pi running PiAware
- 20x4 I2C character LCD (HD44780-compatible with PCF8574 backpack)
- Python 3 and the
RPLCDlibrary - All my patientce until I figure out I needed to adjusting the contrast screw on the LCD
Wiring It Up 🔗
This part was pretty straightforward:
- VCC → Pi 5V pin
- GND → Pi GND pin
- SDA → Pi SDA (GPIO 2)
- SCL → Pi SCL (GPIO 3)
Then I ran raspi-config to enable I2C under Interfacing Options. I also installed the RPLCD library with:
pip install RPLCD
The code 🔗
You can find the full python script here: https://gist.github.com/filbot/0e98902e0be5b642649541b9df85aaa3
What It Displays 🔗
The screen shows four lines, updated every second:
- Current ADS-B messages per second
- Peak observed ADS-B rate
- CPU temperature
- System uptime
Everything is pulled from system files or from PiAware’s aircraft.json, which lives at /run/dump1090-fa/aircraft.json. Here’s a sample of what the display looks like:
ADS-B:       42 msg/s
PEAK:       109 msg/s
CPU TEMP:       49.7C
UPTIME:      00:17:42

The full script polls every second, tracks message rate over time, and updates the display with a minimal refresh. One thing that tripped me up early on was contrast—if you don’t see anything on your screen, it might not be your code. A tiny flathead screwdriver and a half-turn of the potentiometer made all the difference.
Extra Credit: Run It on Boot 🔗
If you want your LCD dashboard to start automatically when the Pi powers on, you can turn your Python script into a systemd service. Here’s how to do it.
1. Create a service file 🔗
First, create a new file called lcd-display.service:
sudo nano /etc/systemd/system/lcd-display.service
Paste this into the file (update the paths to match where your script lives):
[Unit]
Description=PiAware LCD Display
After=network.target

[Service]
ExecStart=/usr/bin/python3 /home/pi/lcd-display.py
WorkingDirectory=/home/pi
StandardOutput=inherit
StandardError=inherit
Restart=always
User=pi

[Install]
WantedBy=multi-user.target
Make sure your script is executable and the path to
python3is correct (you can runwhich python3to verify).
2. Enable and start the service 🔗
Run the following commands:
sudo systemctl enable lcd-display.service
sudo systemctl start lcd-display.service
Now the display should update automatically every time the Pi boots up.
To check on the status or debug output:
sudo journalctl -u lcd-display.service -f
Bonus Tip 🔗
If you’re still actively tweaking the script, you can stop the service temporarily with:
sudo systemctl stop lcd-display.service
Then run your script manually as usual. Just don’t forget to restart the service when you’re done!